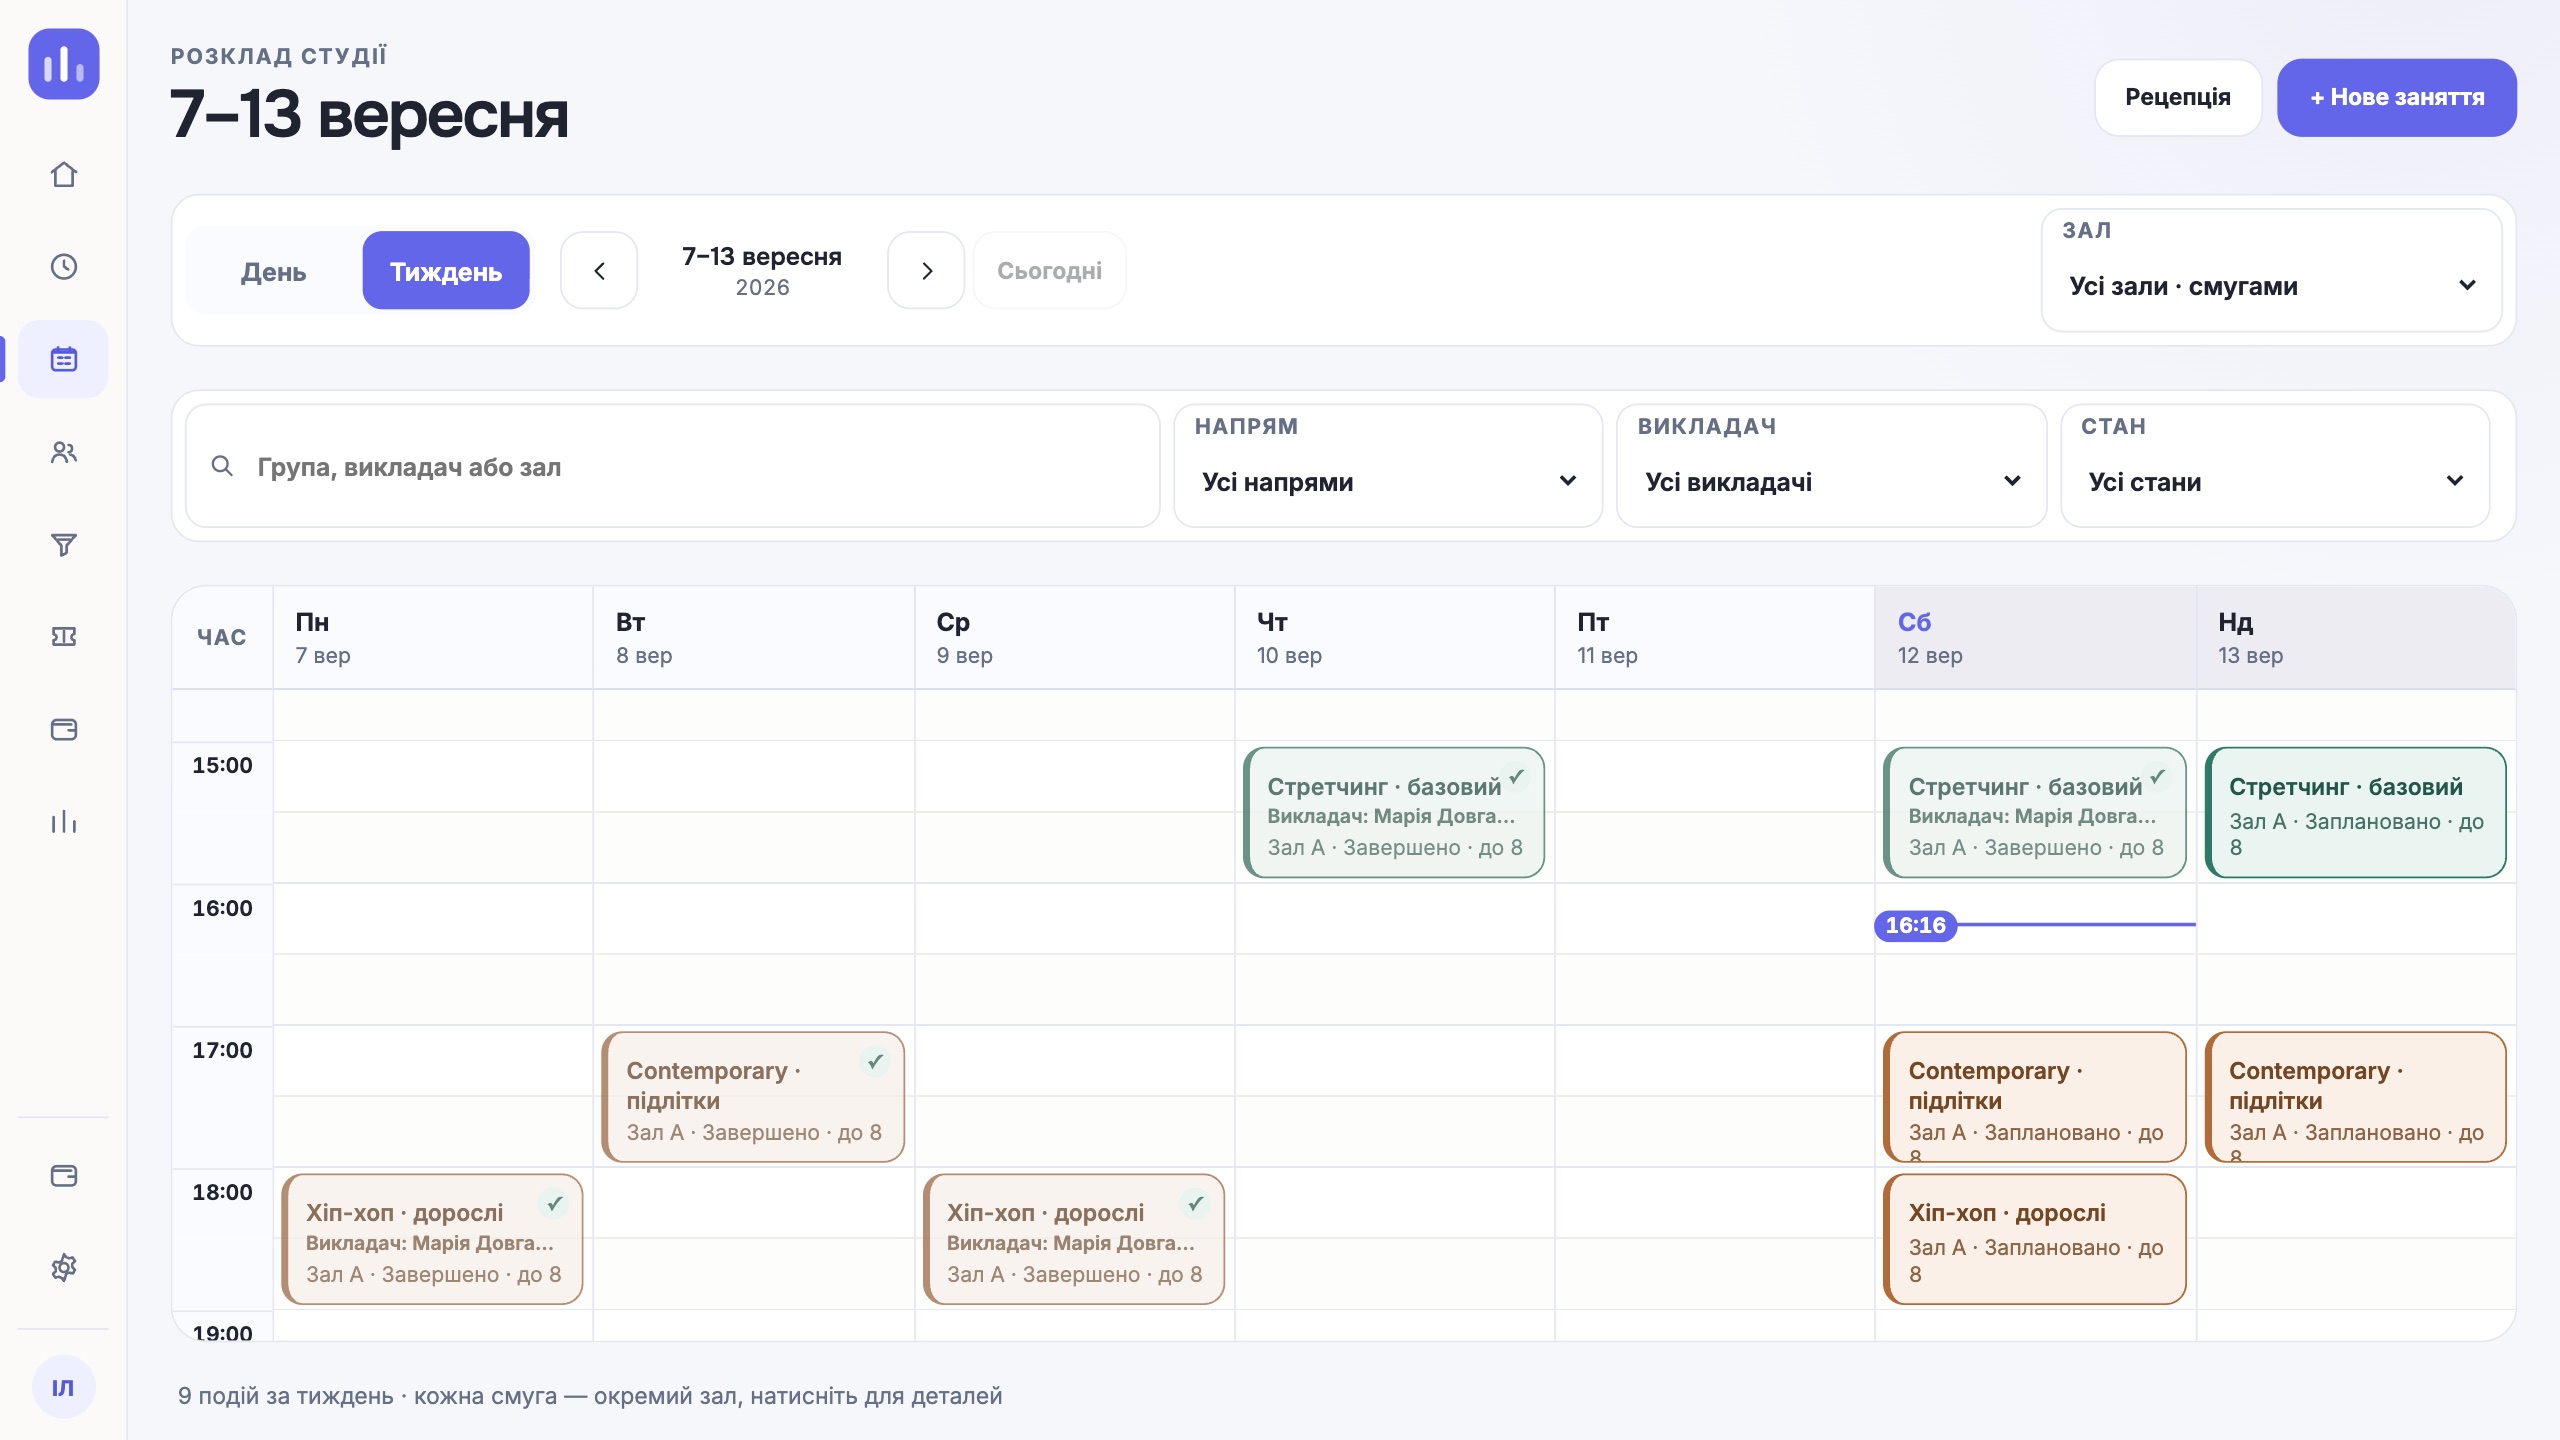
Start with the person who attends
Before creating a new profile, search for the person in the existing list. If the record is already there, open it and check the details. In a kids’ group, the profile should name the child who attends; keep the adult’s details as a separate link.
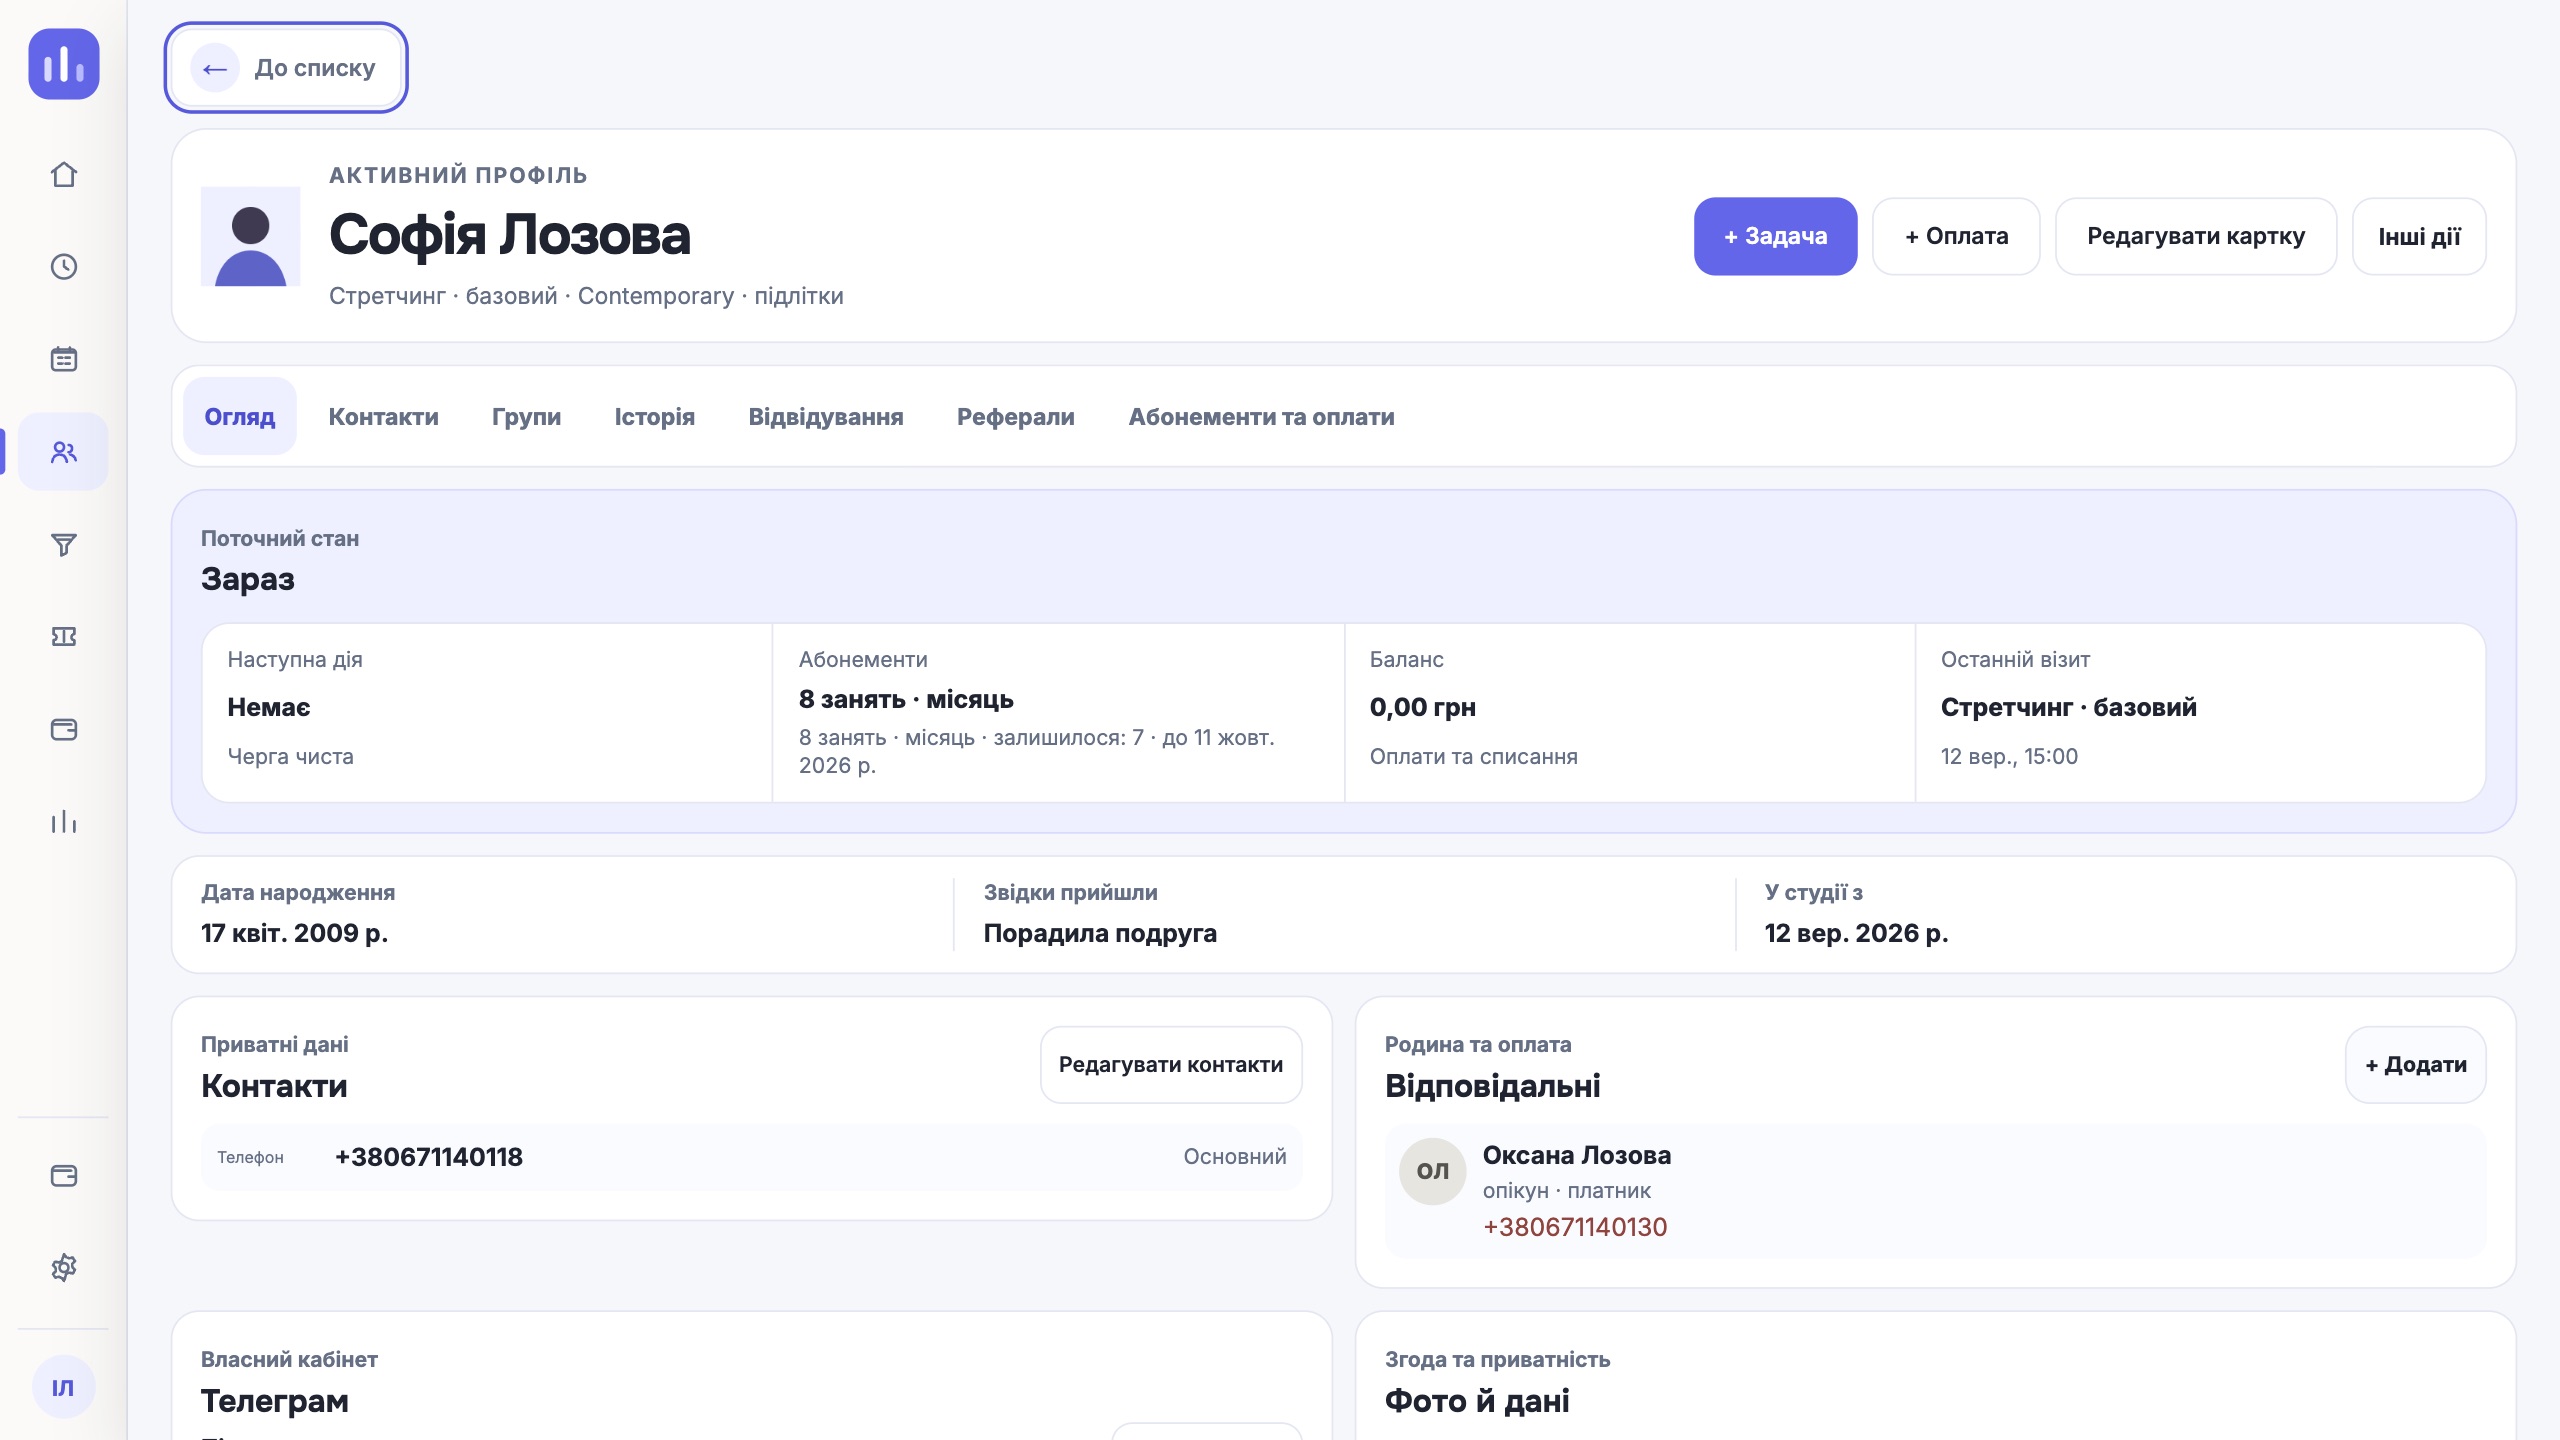
In ClubBase the profile shows the date of birth, the lead source and the date the person joined the studio. If a value is unknown, clarify it during the conversation. An approximate date or a random source will later look like a verified fact.
Keep contacts and responsible people apart
| Block | What it is for | Control question |
|---|---|---|
| Contacts («Контакти») | Phone and email for getting in touch. | Whose number or address is this? |
| Responsible people («Відповідальні») | A link to a guardian, a payer or a person in both roles. | Who handles communication, and who handles payment? |
| Date of birth | Keeping the exact date. | Is this a confirmed date or a guess? |
| Lead source («Звідки прийшли») | How the person found the studio. | Is this the person’s own answer or a staff guess? |
In the Responsible people («Відповідальні») block you can add a link and mark the role as guardian («опікун»), payer («платник») or both. The admin then sees whom to contact without long notes like “dad pays, text mum”.
Add a photo after consent
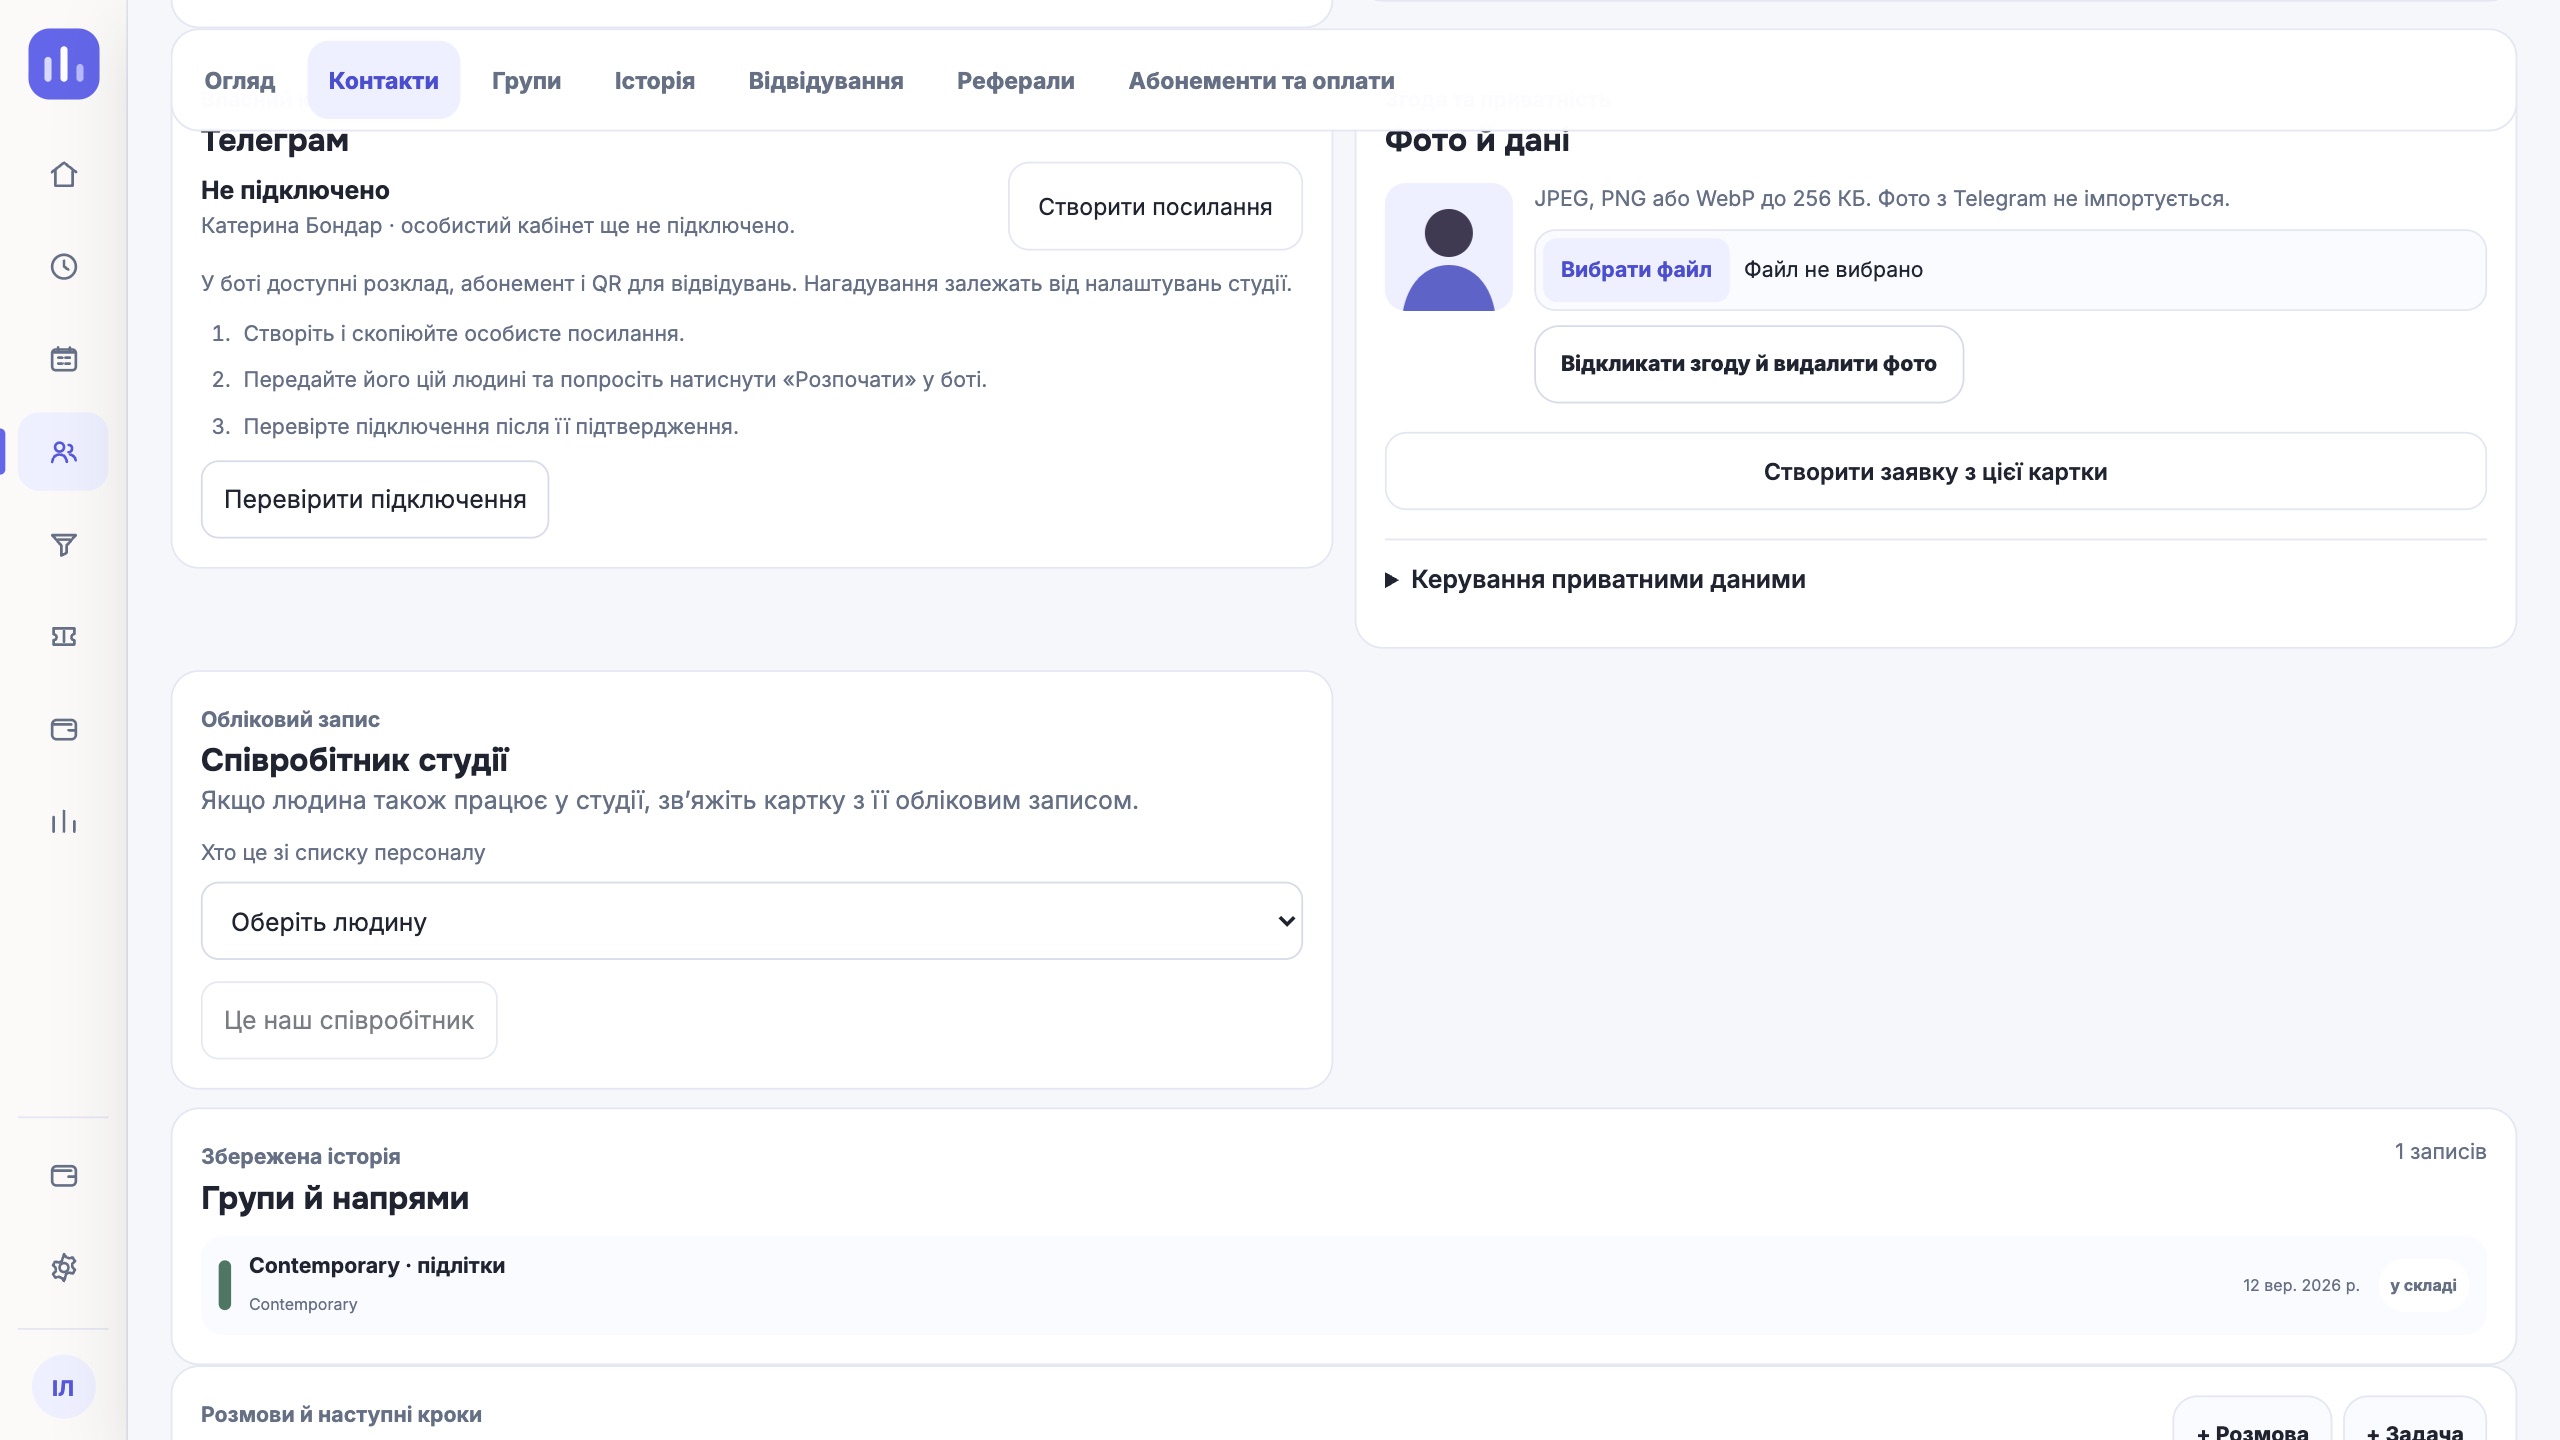
A photo helps the team recognise the person. It is uploaded as a separate file in the Photo and data («Фото й дані») block: the image from Telegram is not copied over automatically.
- Prepare a JPEG, PNG or WebP file of up to 256 KB.
- Choose the file and confirm explicit consent to store the photo only after you have received that consent.
- Click Save photo («Зберегти фото») and check the image in the profile.
If the photo did not upload, use Retry («Повторити»). The rest of the available profile data stays open. If saving was rejected, check the file format and size before trying again.
Leave a clear next step
After a conversation, open Interaction history («Історія взаємодій»). Conversation («+ Розмова») saves the context of what was discussed, and Task («+ Задача») helps you record the next action. Write the agreement down specifically: what needs to be clarified or prepared.
Check the Telegram connection separately in the profile. Having a phone number does not mean the bot is connected. For that, use a personal invitation from the profile.
Hand the profile to another admin
Ask a colleague to find the contact person, the payer and the latest agreement without your hints. If you have to explain everything out loud, fill in the missing block. This is a simple check of whether the next shift can carry on the work.
Before moving a large list, prepare rules for working with data and links. Features for profiles, families and groups are collected in the client management overview.
One next step
Open one existing profile. Check whether it is clear who the contacts belong to, who is responsible and what the team should do next.
View the CRM demo