Where a paper register lets a studio down
A notebook at the desk works while there are few groups. Then small losses start: a coach forgets a tick, the administrator copies marks into a spreadsheet in the evening, a client asks how many classes are left and the answer lives in three places. At the end of the month someone reconciles who came and who did not.
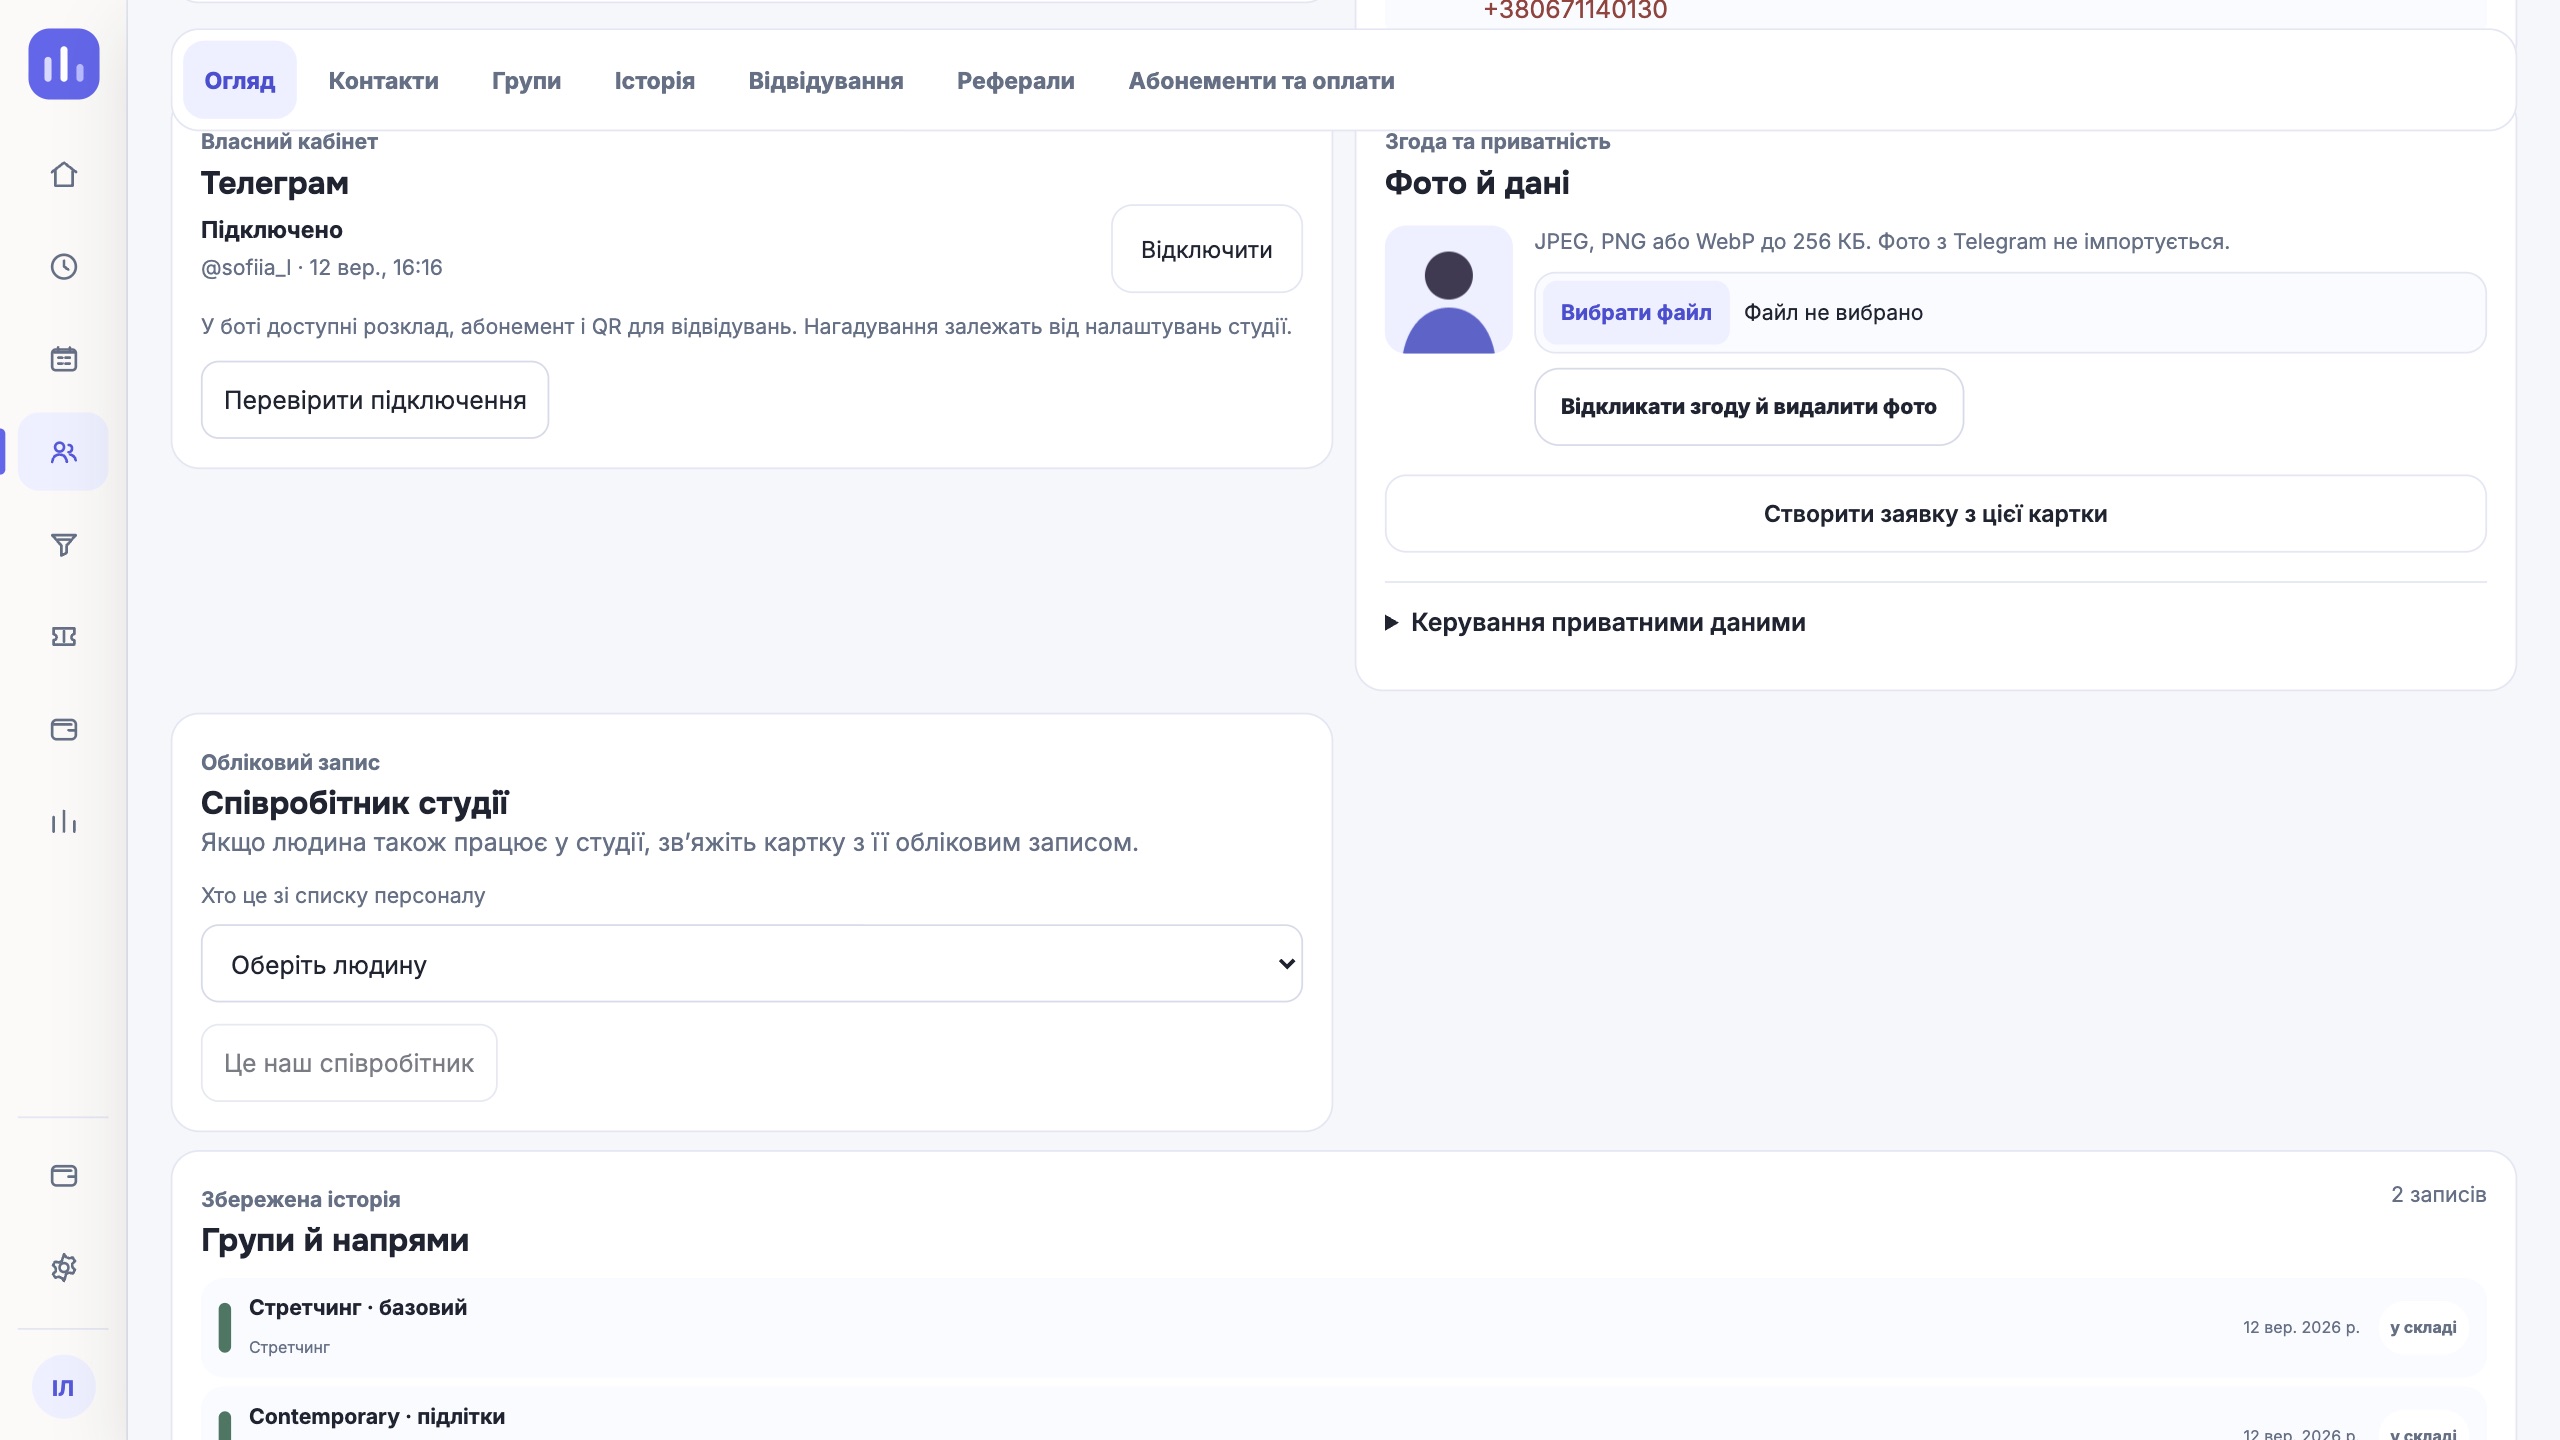
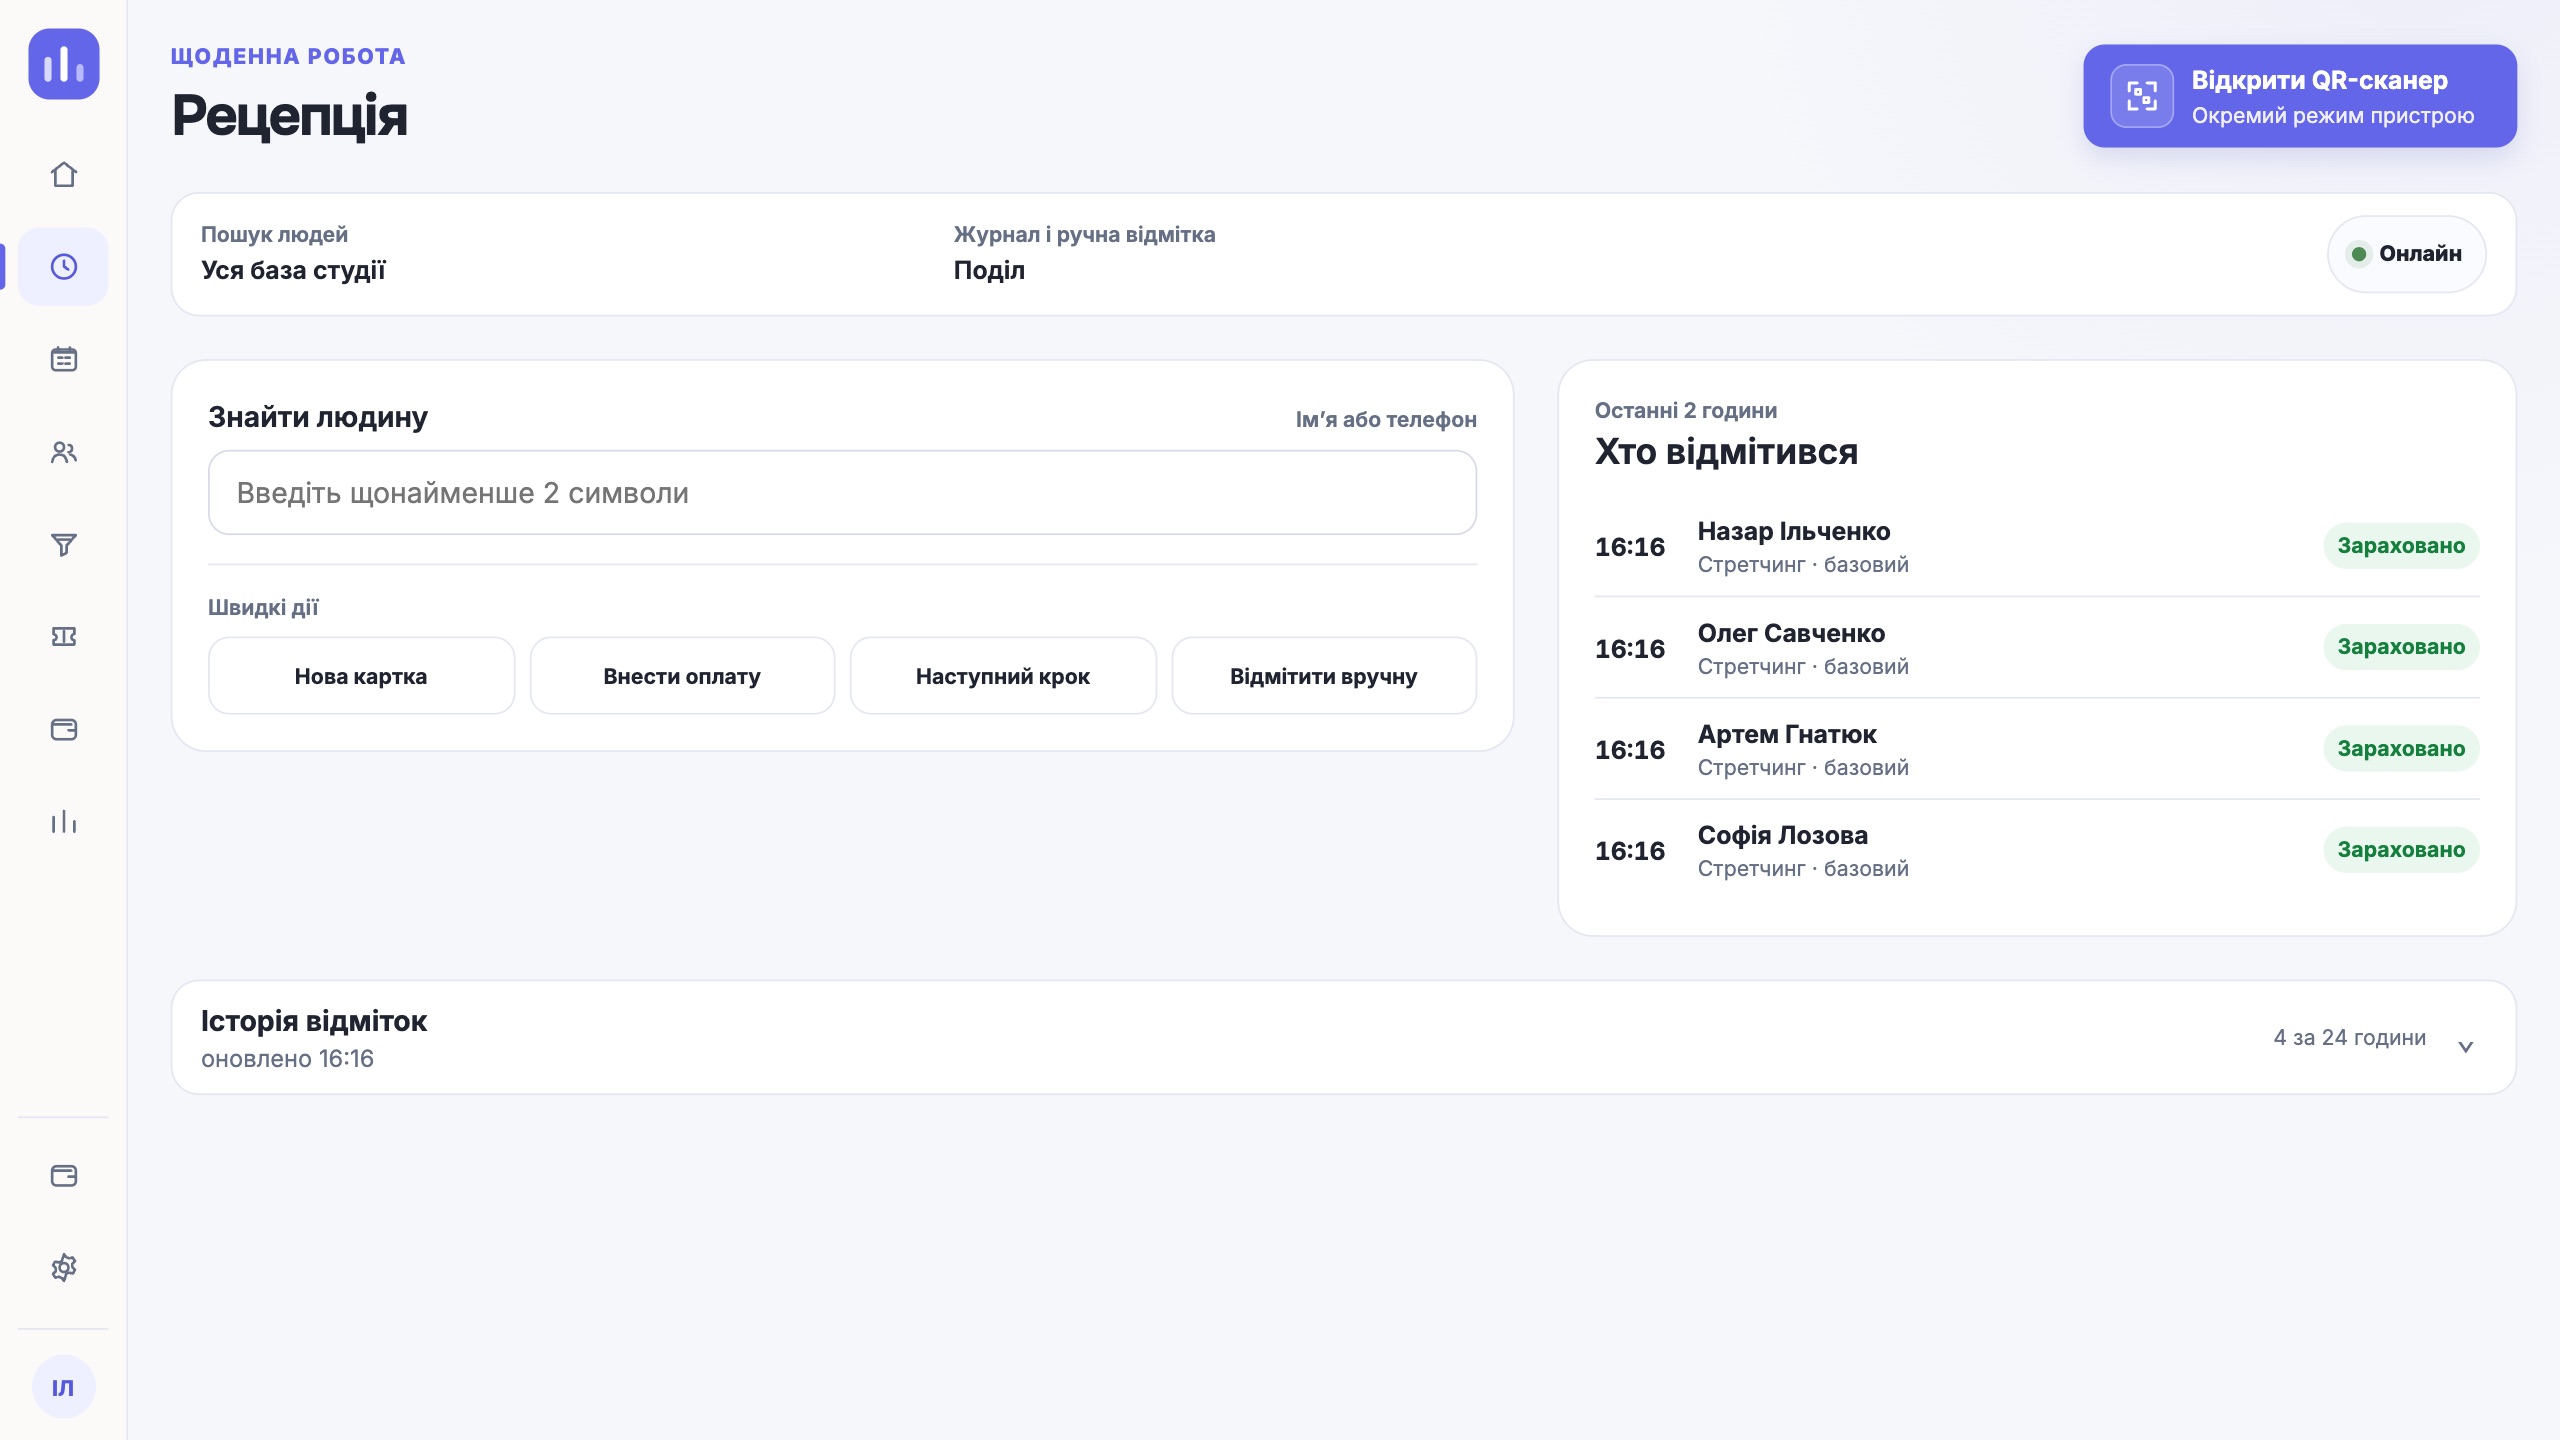
In ClubBase the check-in is the register entry. There is no separate “enter it into the system” step: the visit is counted, the membership updated and the history stays on the person’s card.
How a check-in goes
- The client opens «Мій QR для відвідування» (My attendance QR) in the bot or the member area. The code is personal, and a hint under it says not to forward it.
- A phone or tablet by the room entrance scans the code with its camera. The phone with the QR should be held still, 15-25 cm away.
- ClubBase checks that a class is on in that room now, the membership fits, there is no debt and places are left.
- The client sees that the visit was counted, or the reason it was refused. The visit appears in the class register and the balance updates.
Booking a class does not deduct anything. The class comes off the membership at the moment of check-in. How clients book ahead is covered in the article on booking a studio class through Telegram.
The scanner is an ordinary phone by the room
No special hardware is needed. Any phone or tablet with a camera and a browser can be the scanner. The owner or an administrator connects it in CRM settings: a name for the team, a location and a room. One device serves one room.
After confirmation the CRM shows a pairing QR, once. Point the device camera at it, open the link and wait for «Сканер авторизовано» (Scanner authorised). If the phone is lost or replaced, access is switched off in the same settings and the reason goes to the activity log.
If the browser blocks the camera, the code can be typed in by hand. The scanner switches between the main and front camera with one button.
When a check-in is refused
A refusal always names the reason, so the client is not left facing a vague error and the desk knows the next step.
| Message | What to do |
|---|---|
| Refused because of an unpaid balance | Take the payment on the card and repeat the check-in |
| Membership visits used up | Sell a new membership |
| No free places in the class | Check bookings and the waiting list |
| No class to check in to right now | Check the schedule, room and time |
| Already checked in to this class | Nothing: a second visit is not deducted |
No internet, no phone
The desk internet drops at the worst moment. The scanner then keeps the check-in in a protected offline queue on the device and marks it as preliminary. The result and the balance become known after sync, once the network is back. An online check-in, by contrast, deducts the visit straight away.
For someone who came without a QR, the attendance register has «Відмітити вручну» (Mark manually). ClubBase records who marked it and when, so manual marks do not get lost among scanned ones. For an absence there is «Відмітити пропуск» (Mark absence): nothing is deducted and the absence is saved with a reason.
In children’s groups the check-in also helps parents: when the child shows the QR at the door, they get a message that the child has arrived.
What the team sees after a check-in
Every mark shows where it came from. Scanned visits sit next to those labelled «Позначено вручну на рецепції» (Marked manually at the desk), and guest visits and excused absences have their own labels. When the owner opens a class register, they see more than ticks: who came, how they were marked and who on the team did it.
Attendance can only be marked within the allowed time of the class. If an administrator tries too early, the CRM asks to repeat later, so the register does not collect visits to a class that has not started.
Sometimes a person comes without a membership for that class. The register then lets the team record the payment and the check-in for that specific class together, without leaving the page.
A one-day launch checklist
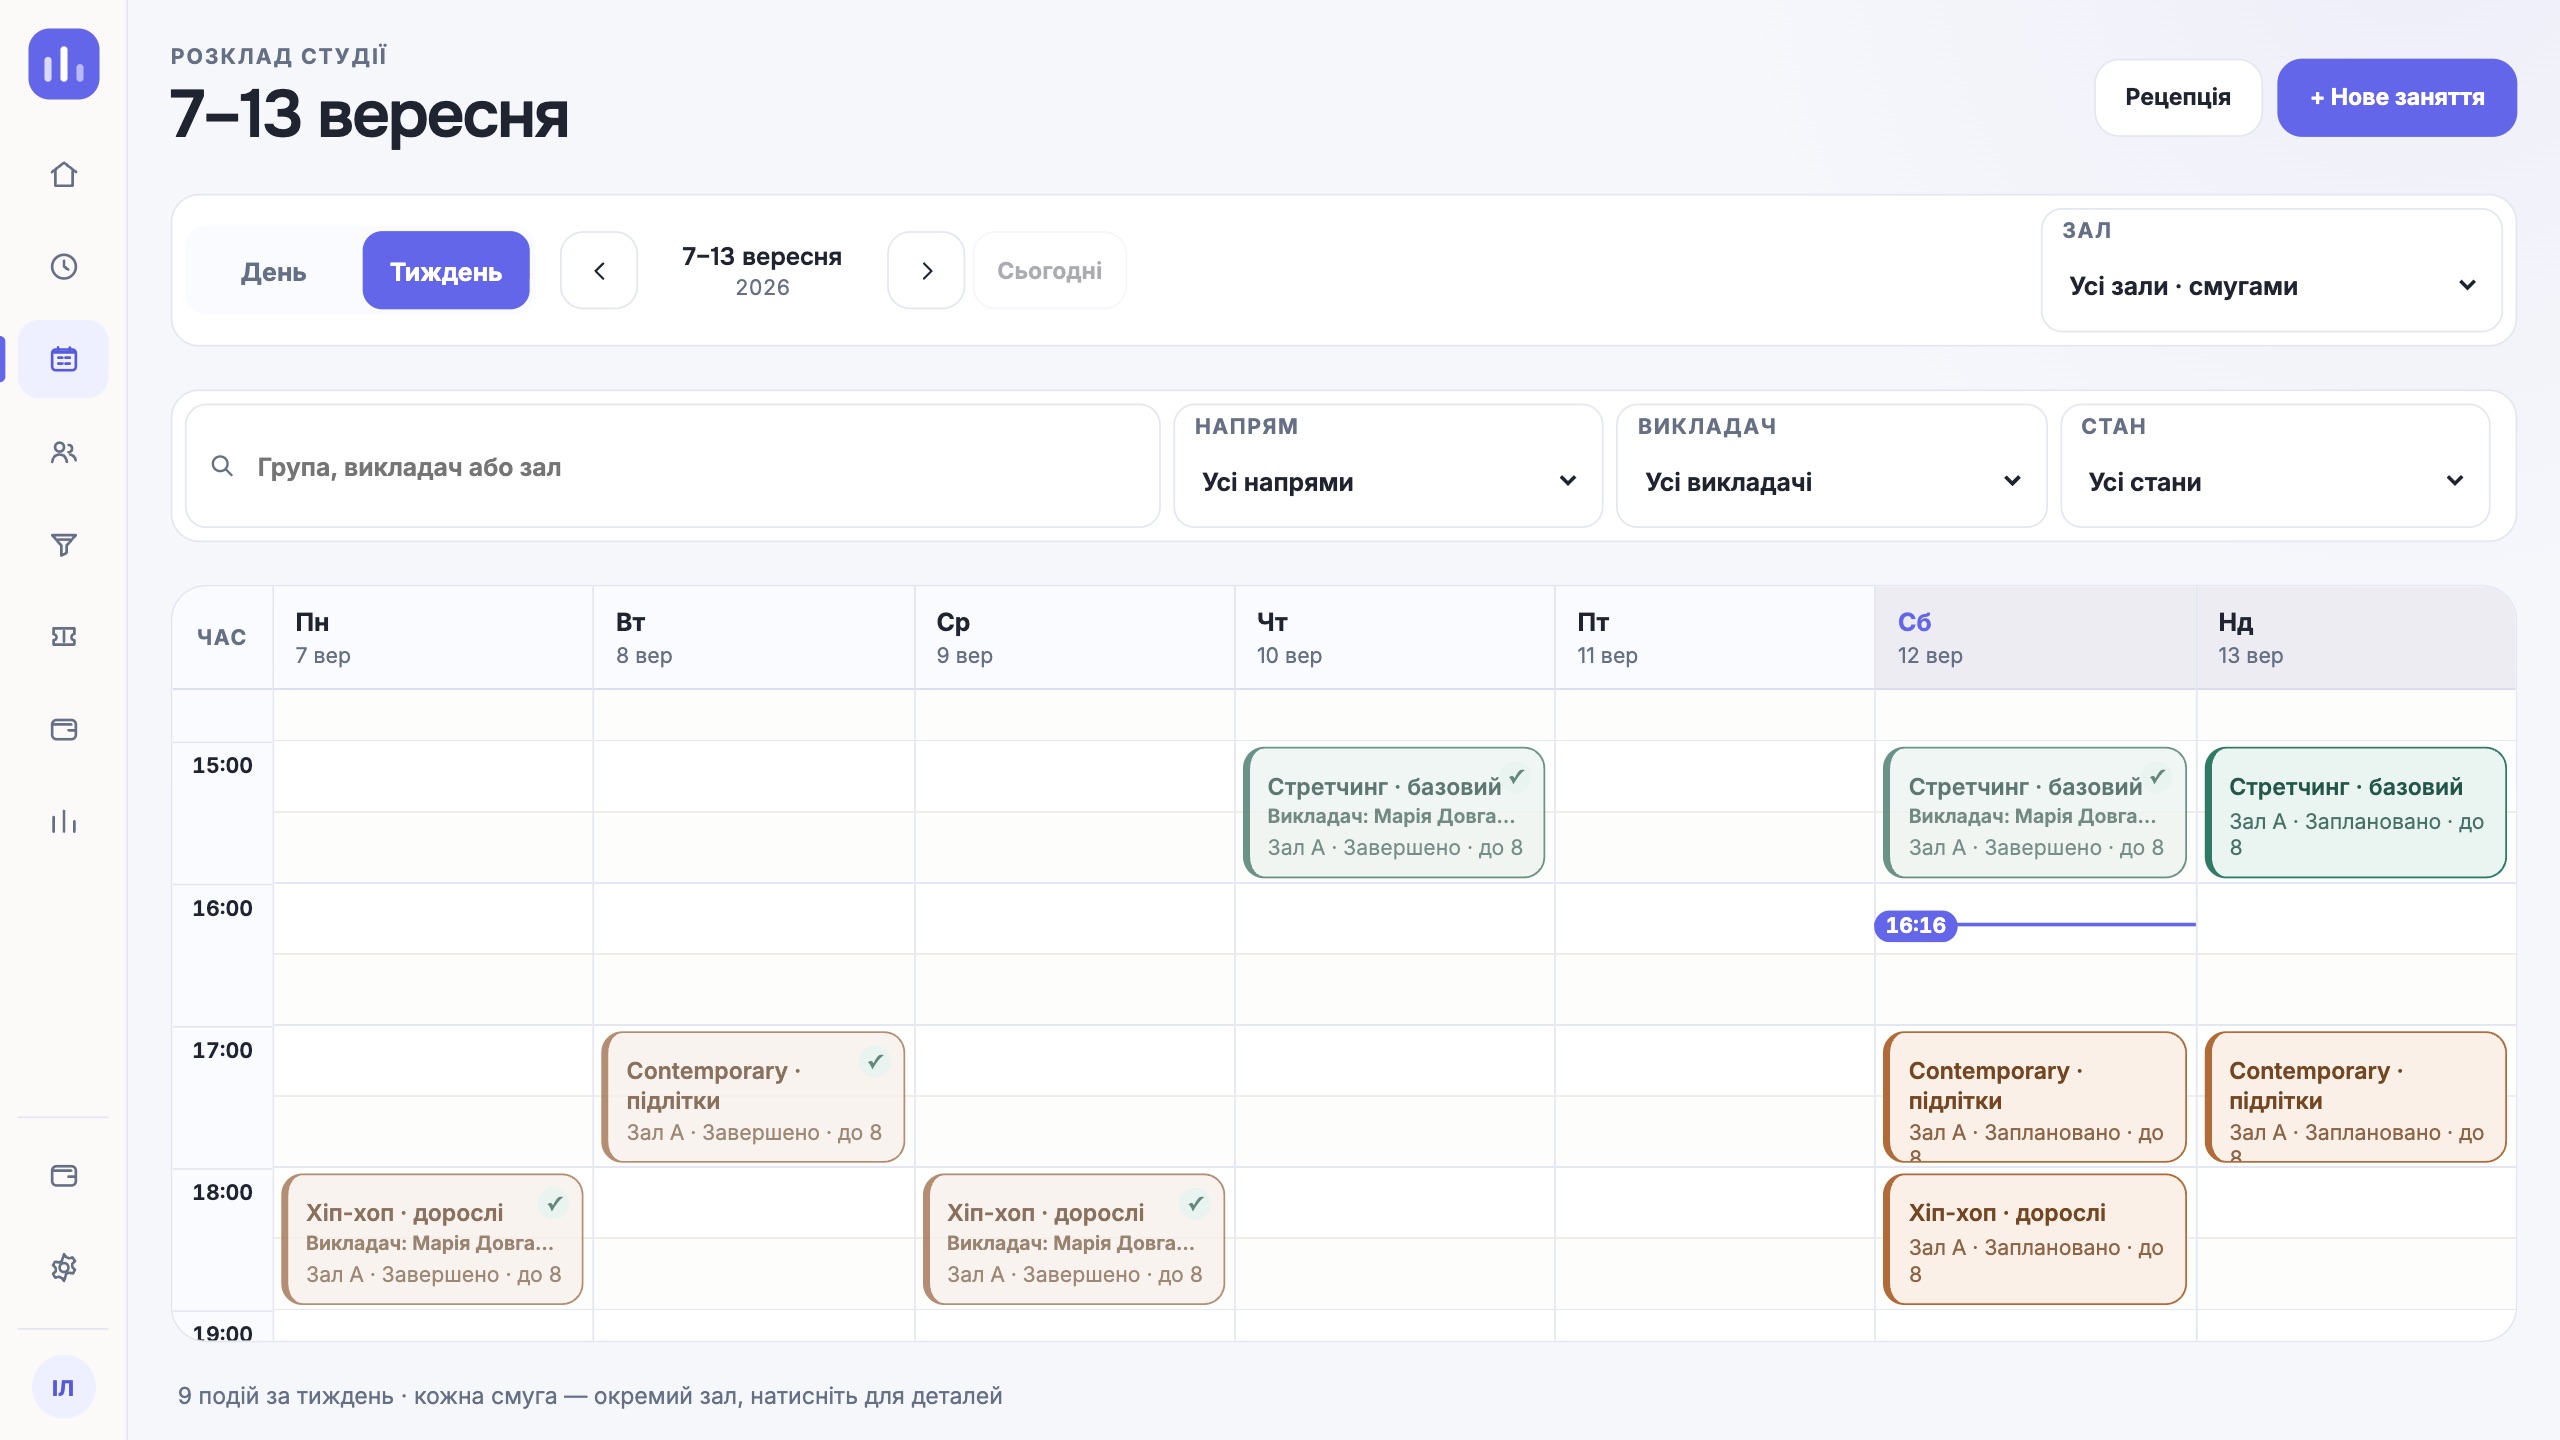
- Check the week’s schedule: the room and time of each class must match reality, or the scanner will say there is no class.
- Connect one phone or tablet per room.
- Pick the screen view: Administrator for the desk, Public screen for an unstaffed entrance.
- Connect Telegram for regular clients so they get their QR.
- For the first week keep manual marking at hand for people not on the bot yet.
Step-by-step help for the team: how to check a class and a QR check-in.
Questions front desks ask
The client’s phone is dead. What now?
Mark the visit manually from the attendance register. It counts the same way, and the history shows who marked it.
Do we need a dedicated barcode scanner?
No. A phone or tablet with a camera standing by the room entrance is enough.
What if the code is scanned twice?
The client sees that they are already checked in, and a second class is not taken off the membership.
One next step
Start with one room: put a phone scanner by the door, connect Telegram for regular clients and after a week compare the register with what used to be in the notebook.
Try it free